
Small amount worsted weight yarn in 2 colors ☺ 3.5mm crochet hook
Scissors ☺ Tapestry needle ☺ 6mm black safety eyes
Polyfill stuffing ☺pink or red marker
Glossary of Terms
SC - single crochet
DC - double crochet
Sl St - slip stitch
Ch - Chain
Sk - Skip
Hdc - half double crochet
Blo - crocheting in the back loop only
Inc - increase, or make 2 stitches in same spot
Dec - Decrease, or make one stitch over 2 spaces (unless otherwise directed)
FO - Fasten off
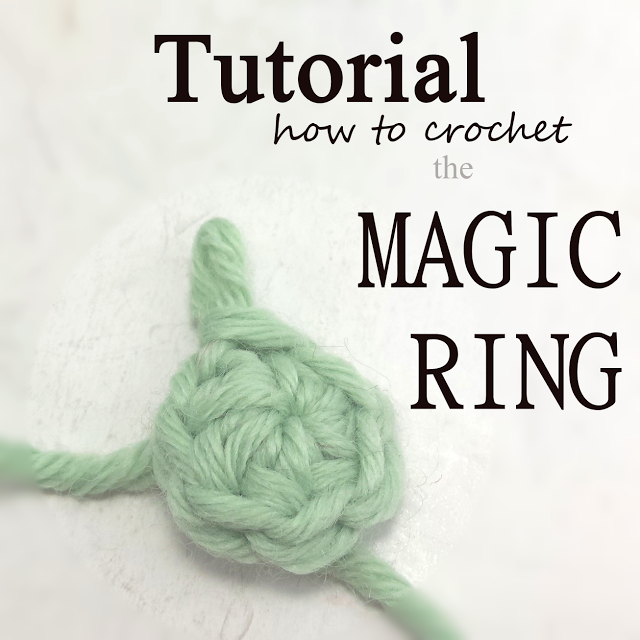
Mr - magic ring, or magic circle, technique. click here for tutorial!
Yo - Yarn over
Ea - eachMr - magic ring, or magic circle, technique. click here for tutorial!
With light blue (or any color!) worsted weight and 3.5mm hook.
In mr, ch 1, 8 hdc.
Pull tight to close.
R2. Hdc-inc in ea hdc around. 16.
R3. hdc-inc in ea hdc around. 32.
R4. sc in back loop only of ea hdc around. 32..
R5. Sc in ea sc around. 32.
R6-7. sc in first 11. Sc in back loop only of next 2. Sc in remaining 19. 32.
R8-11. Sc in ea sc around. 32
R12-13. sc in first 11. Sc in back loop only of next 2. Sc in remaining 19. 32.
R14. sc in ea sc around.
STOP.
Stuff partially with polyfill fiber.
Add 6mm safety eyes between rows 10-11. I space them 5 stitches apart.
With dark brown worsted weight and 3.5mm hook
In mr, ch 1, 8 sc.
Pull tight to close. Do not join.
R2. sc-inc in ea sc around. 16.
R3. sc-inc in ea sc around. 32.
R4. sc in ea sc around. 32. FO.
Place inside of coffee cup. Line seams up and attach to inside loop only of blue part. Leave the outside loop open for now. Then, whip stitch the two brown loops to the inside blue loop. Finish stuffing.
Embroider mouth with leftover brown yarn.
Color pink circles for cheeks with a marker, optional.
BRIM
Take your blue yarn one more time, make a slip knot and attach with a single crochet to that outer blue loop at the top.
Make a sc in ea loop around, to make the coffee loop deeper in the mug.
FO.

HANDLE
Round1. With blue yarn and 3.5mm hook. Make a slip knot and sc into the first space made by the sc-blo in row 6. Sc in next blo space. Turn your work around (rotate the cup so the bottom is facing up), and sc into each of the two back loop spaces made in round 7. Total of 4 sc.
Rounds 2-9. Without joining, continue working in the round. Sc in ea sc around. 4.
Fasten off, and attach to the loops made by the back loop stitches in rounds 12-13.
Weave in ends and you are done!
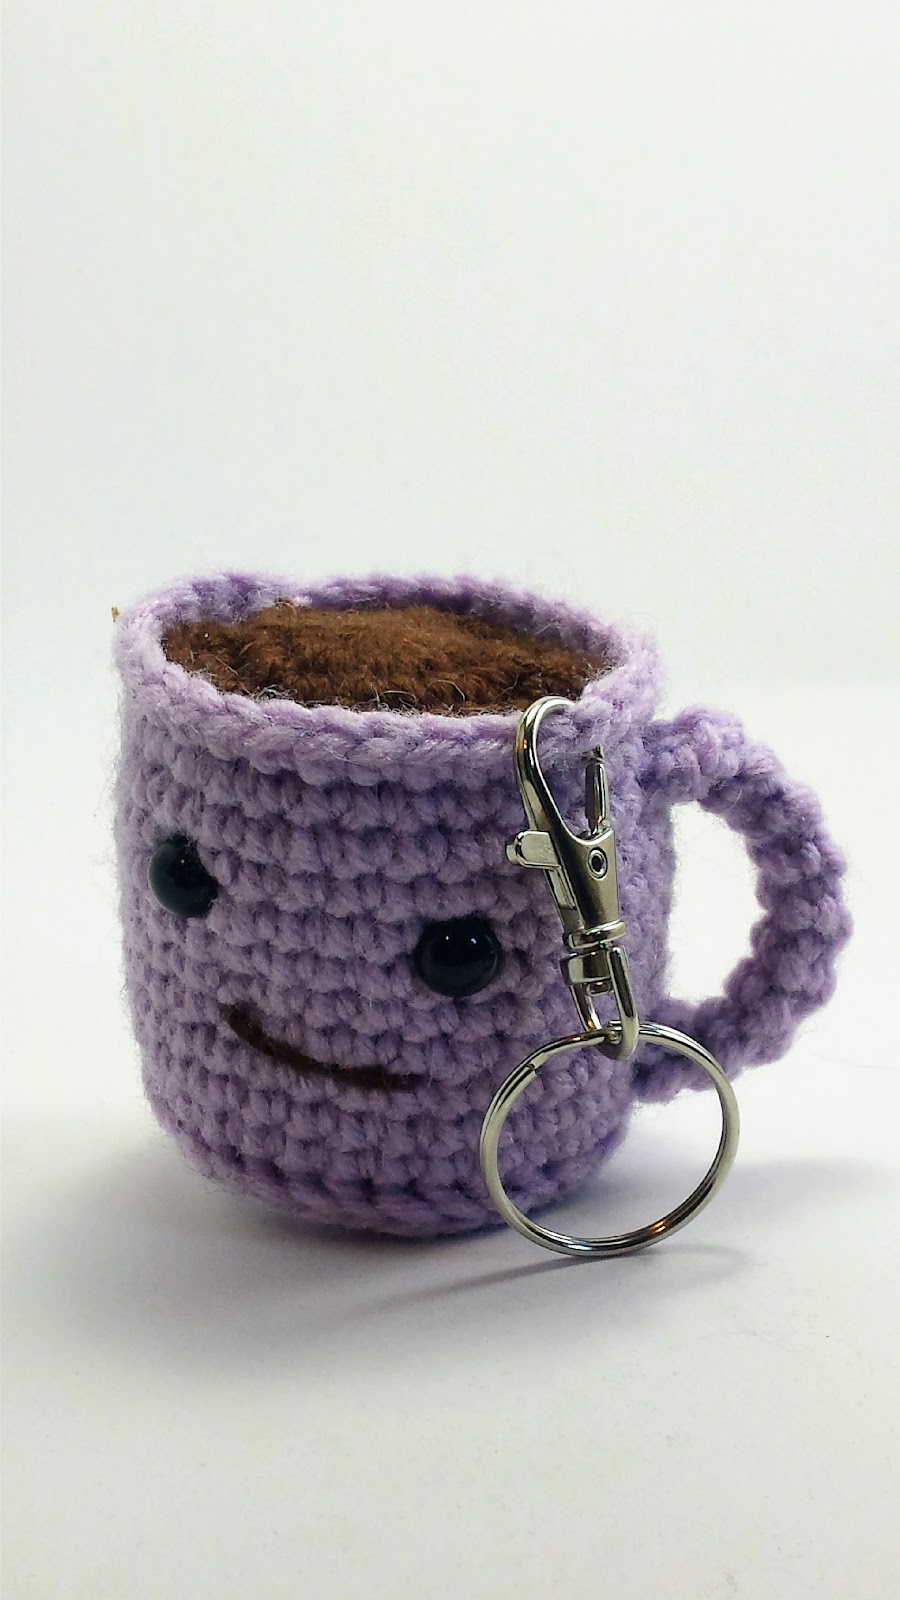
Optional: Add a keyring and never be without your little coffee cup. :)
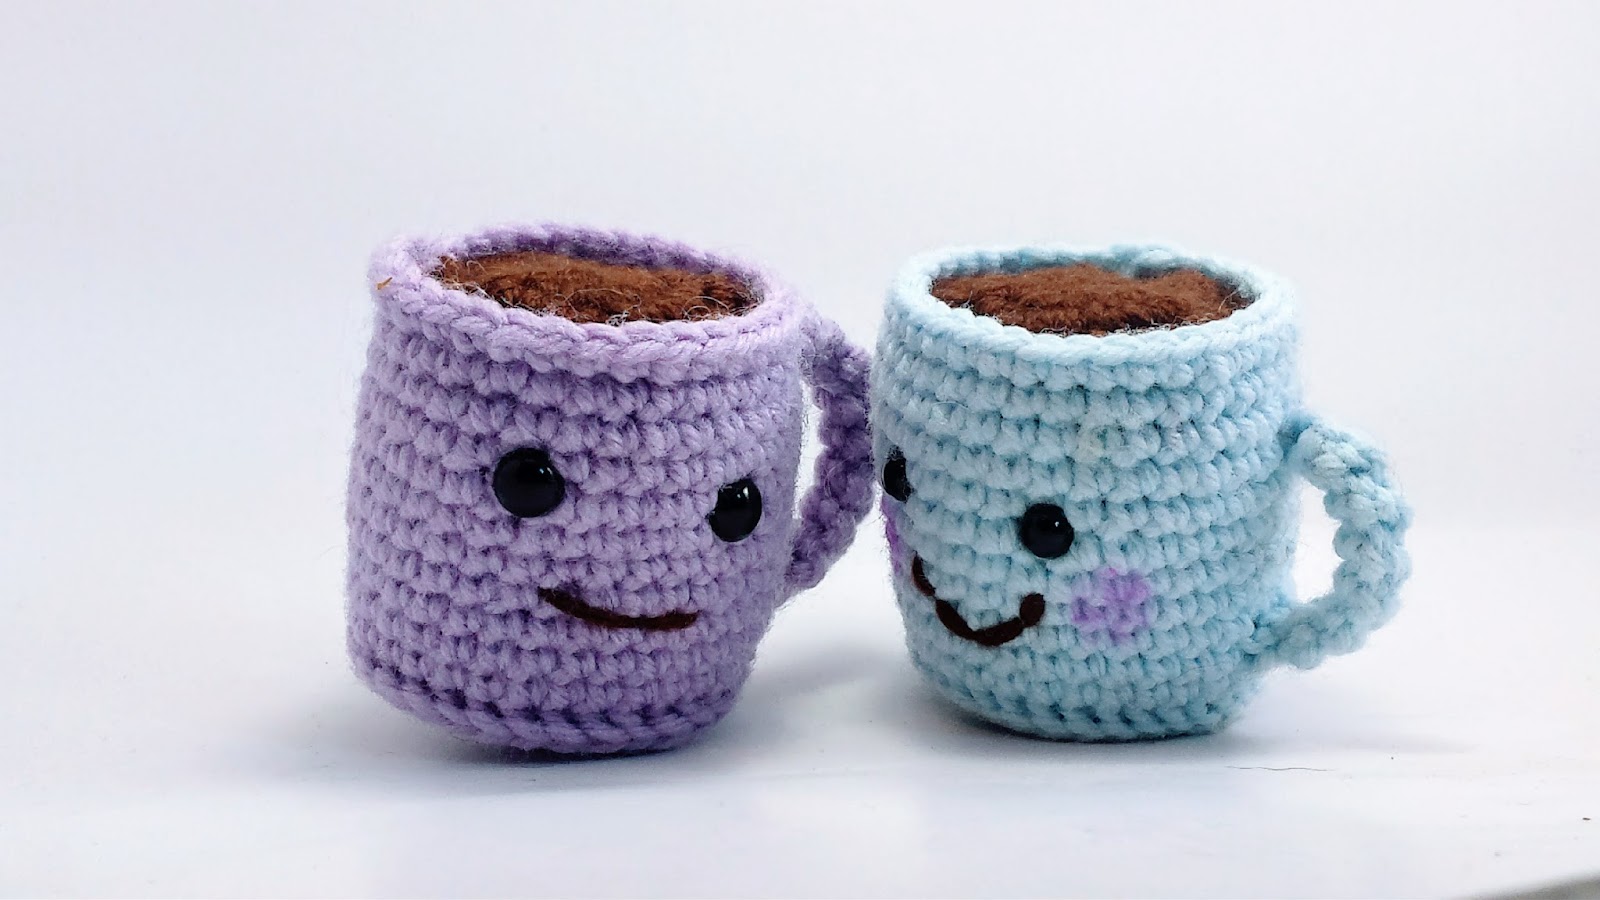
Isn't it so cute?! Share your thoughts and finished products by following my blog, or tag me on social media @urbanfunke
Cheers!
Hiya, just letting you know that the pattern reads:
ReplyDeleteR5-14. Sc in ea sc around. 32.
R6-7. sc in first 11. Sc in back loop only of next 2. Sc in remaining 19. 32.
This makes it look like 10 rows of SC for row 5-14. Please let me know if I am reading this wrong. Cheers
Gina, thanks for pointing that out! I've went in and fixed my error. It is supposed to read
DeleteR5. Sc in ea sc around.
R6-7. sc in first 11, etc...
Then continue with row 8.
:)
It's the PDF pattern that has the mistake mentioned above; not the html page. I downloaded the pdf and found the mistake as well.
ReplyDeleteIt is very hard to read the text on the background. It would be easier on a different background or with white text instead of the black
ReplyDeleteTotally agree, almost impossible to read pattern
DeleteMulticolor Tea Mugs with Stand (Set of 6) | Turkish Clay
ReplyDeleteMulticolor tea cups with glazed finish. Shop from unique designs, premium ceramic crockery of tea cups, coffee mugs, designer plates and bowls. Best selling beautiful platters, colorful planters and an imported collection of serving bowls.
For More Info:- ceramic cup