
Isn't it fun when your brain and heart play tug of war ALL THE TIME? These adorable tiny crocheted plushies will totally not solve that problem, but it will be a good time killer to keep both your brain and your heart occupied for a short while.

BRAIN
Make a magic ring. In it:
then make 8 sc. pull tight but do not join.
R2. before you begin the row, chain 9, skip the first 3 chains from hook, and slip st back down the chain. Ths creates first arm. sc-inc in ea sc around. This includes the space where you made his arm. There should be 16 sc at the end.
R3. *sc, sc-inc* Repeat between ** around. (24)
R4. *sc-inc, sc, sc* Repeat between ** around. (32)
R5. sc first 5 sc. then chain 8, skip 3 chains closest to hook, then sl st down remaining chain stitches (first leg made). Then sc in ea remaining sc. (32)
R6-8. sc in ea sc around. (32)
R9. TIGHTLY slip stitch in front loop only of ea st around. (32)
R10-11. Sc in ea sc around. (32)
R12. sc first 5 sc. then chain 8, skip 3 chains closest to hook, then sl st down remaining chain stitches (second leg made). Then sc in ea remaining sc. (32)
R13. Sc in ea sc around. (32)
R14. *sc, sc, sc-dec* Repeat between ** around. (24)
R15. *sc-dec, sc* Repeat between ** around. When you get to the last decrease, chain 9, skip the first 3 chains from hook, and slip stitch back down the chain. This creates second arm. (12)
Pause. Stuff.
R16. sc-dec around. (6).
Fasten off using reverse magic ring.
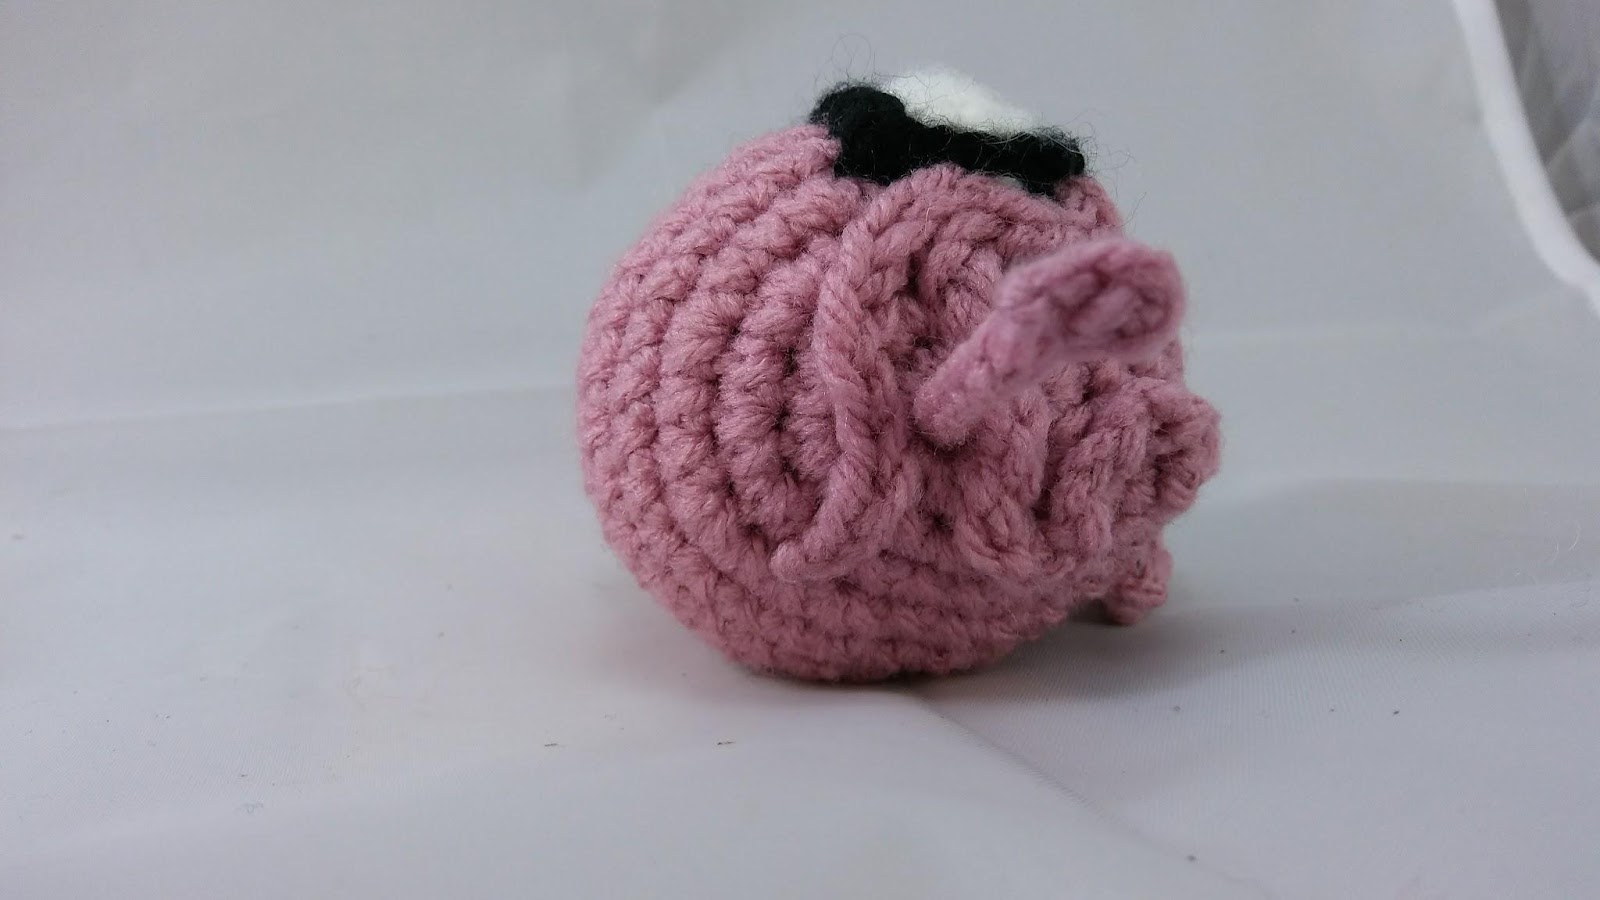
BRAIN TEXTURE
Chain 30. Fasten off, leaving long tail. Use tail to sew in a twisty pattern on either side. See photo.
GLASSES
With white, chain 6. Skip first ch, then sc in remain 5. Ch 1, turn. (5)
Row 2. Sc in ea sc across. Ch 1 turn.
Row 3. Sc in ea sc across. FO.
Make 2.
Now, you are going to edge the two white pieces in black. To do so, just sl st along first the top edge, then chain 2 when you get to the corner, sl st down one side, chain 2, sl st across bottom edge, chain 2, and sl st remaining side and back into the beginning sl st. FO. Repeat for the other. It’s going to look weird right away, because you probably have some white sticking out behind the black, yes? It’s cool, we’re going to attach the eyes to the head using the same black yarn and a basic whip stitch, so you can attach the black yarn to the outside loops of your slip stitch around, and when you pull snug on your stitches, the white will be hidden inside. Then just embroider the nose piece (literally just a black line connecting them) and fasten off! Weave in all your ends, and you’re done!

HEART
Make a magic ring. In it:
then make 6 sc. pull tight but do not join.
R2. sc-inc in ea sc around. (12)
R3. sc in ea sc around. (12).
R4. *sc, sc-inc* Repeat between ** around. (18)
R5. sc in ea sc around. (18)
R6. *sc-inc, sc, sc* Repeat between ** around. (24)
R7. sc in first 15 sc. then chain 3. Skip first chain, and make 4 sc in ea of the next 2 loops (8 total). Finish the row by making a sc in remaining 9 sc. (24)
R8-10. Sc in ea sc around. (24)
R11. sc in first 3 sc. then for first arm, chain 9. Sk first chain and sl st next 3. Make 1 picot stitch (chain 3, sl st in beginning ch), then sl st down remainder of arm. Sc in next 11 sc. make 2nd arm. Screm 10
R12-14. Sc in ea sc around.
R15. *sc-dec, sc, sc* Repeat between ** around. (18)
R16. *sc, sc-dec* repeat bewteen ** around. (12) When you get to the end of the row, chain 3. Skip first chain, and make 4 sc in ea of the next 2 loops (8 sc total).
**IT’S BEST TO PAUSE HERE AND ADD THE EYES. IF YOU HAVEN’T MADE THEM YET, DO SO NOW. **
R17. sc first 2-tog. Chain 3, sk first ch, make 4 sc in ea of next 2 loops (8 sc total). Sc next 2-tog. Chain 3, sk first ch, make 4 sc in ea of next 2 loops (8 sc total). Sc last 2 sc together. FO using reverse magic ring.
EYES
With white, make a magic ring.
Make 5 sc. Pull tight; do not join. (5)
R2. Sc-inc in ea sc around. FO. (10)
Attach black 6mm safety eyes before sewing onto head.
MOUTH
Embroider mouth on in black thread using a large sharp needle.
LEGS
Chain 4. Sl st to beginning chain to form a loop. Chain 18. Skip 3, sl st in 4th chain from hook. Sl st in ea loop down the chain until you get to the beginning loop. Fasten off.
To attach, insert hook from one side directly out the other between rounds 2 and 3 at the very base. Grab a hold of one end of your legs, and pull it all the way through the base. Adjust it back and forth and fix any stuffing that may have come out.
Optional: Secure legs into place with a needle and thread if desired. You can leave them loosey goosey too, that’s cool. I don’t judge.
And that's it. Tag me @urbanfunke and show me your finished goodies!!
xoxo
we provide accurate clipping path service at lowest possible price & within shortest possible turnaround.
ReplyDeleteclipping path service
ReplyDeleteAbsolutely unique and fine piece of information.
clipping path service
background removal service
raster to vector conversion service
Amazing post, Thank you for share with us.
ReplyDeletePhoto Retouching Services